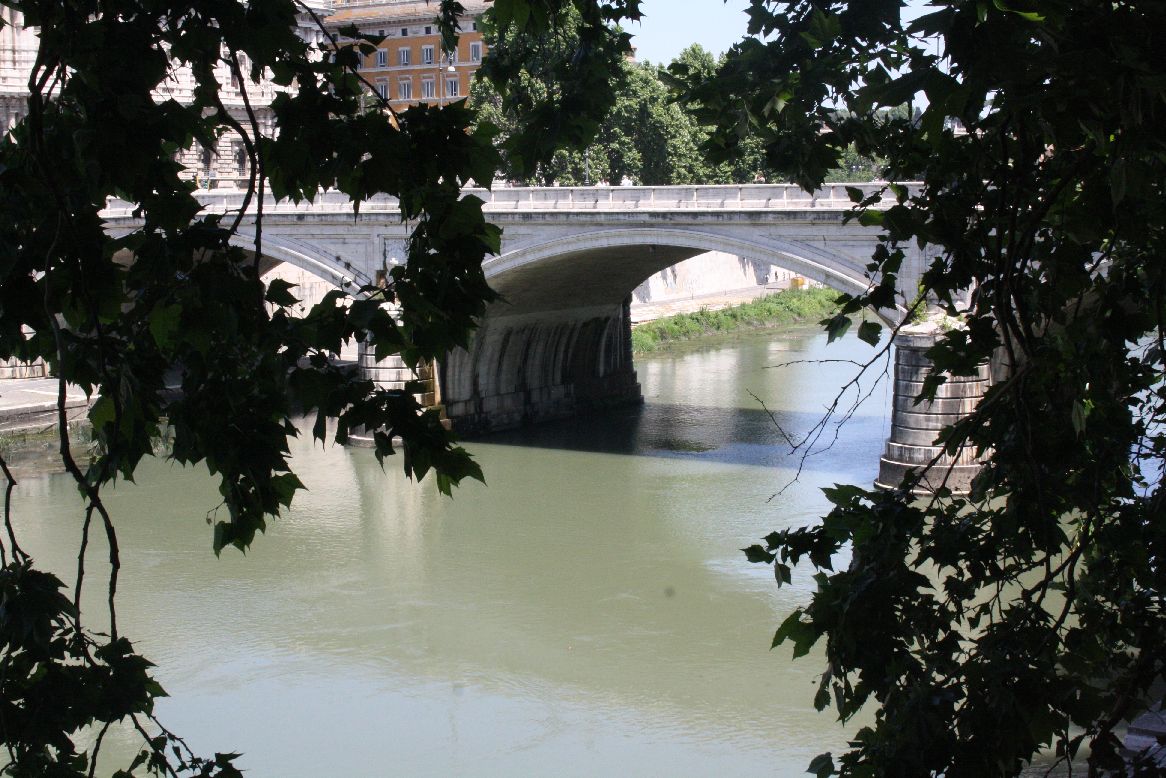
The tourist map of Rome shows 17 bridges over the River Tiber in the central district, dating from 140 BC to 1981. For those in Rome it makes a pleasant day’s stroll to visit each one, but for those who can’t make it I have gathered photographs and historical information, which will be presented over three posts, arranged by age from oldest to youngest.
Bridges over the Tiber


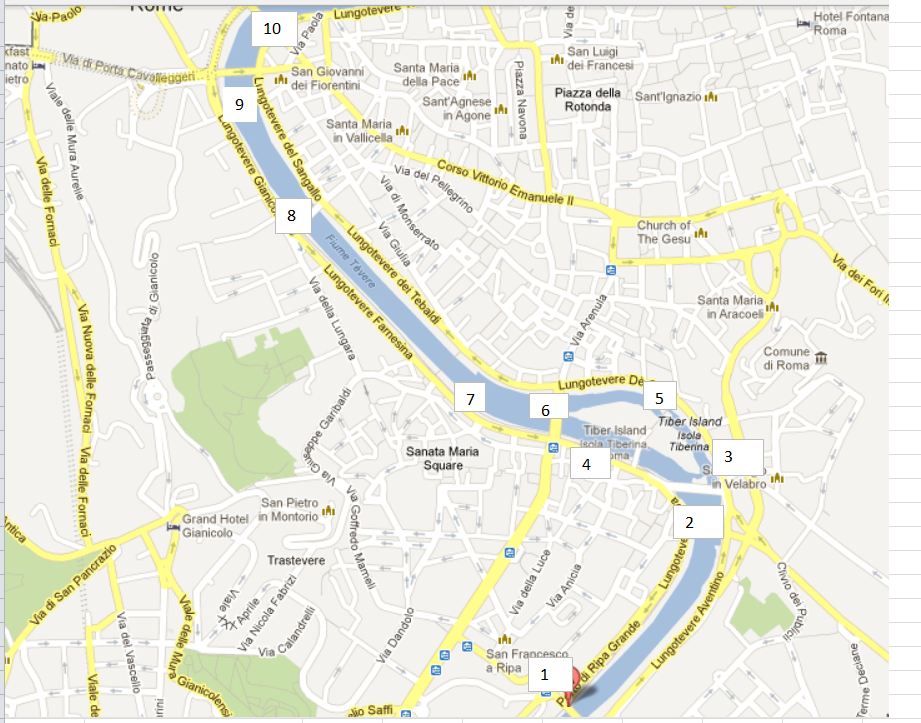
Ponte Rotto, 142 BC (3)

Ponte Rotto
Formerly Pons Aemilius:
The Pons Aemilius (Italian: Ponte Emilio), today called Ponte Rotto, is the oldest Roman stone bridge in Rome, Italy. Preceded by a wooden version, it was rebuilt in stone in the 2nd century BC. It once spanned the Tiber, connecting the Forum Boarium with Trastevere; a single arch in mid-river is all that remains today, lending the bridge its name Ponte rotto (“Broken bridge”).
The oldest piers of the bridge were probably laid when the Via Aurelia was constructed in the mid-2nd century BC.[1] Initially constructed in 179 BC with stone piers and a wooden superstructure, the bridge was fitted in 142 BC with six wholly stone arches. In 12 BC, Augustus completely restored the bridge with a tuff and concrete core.
Damaged and repaired on seven occasions, the bridge was defunct by 1598, when its eastern half was carried away in a flood. The remaining half was demolished in the 1890s, leaving behind only one arch
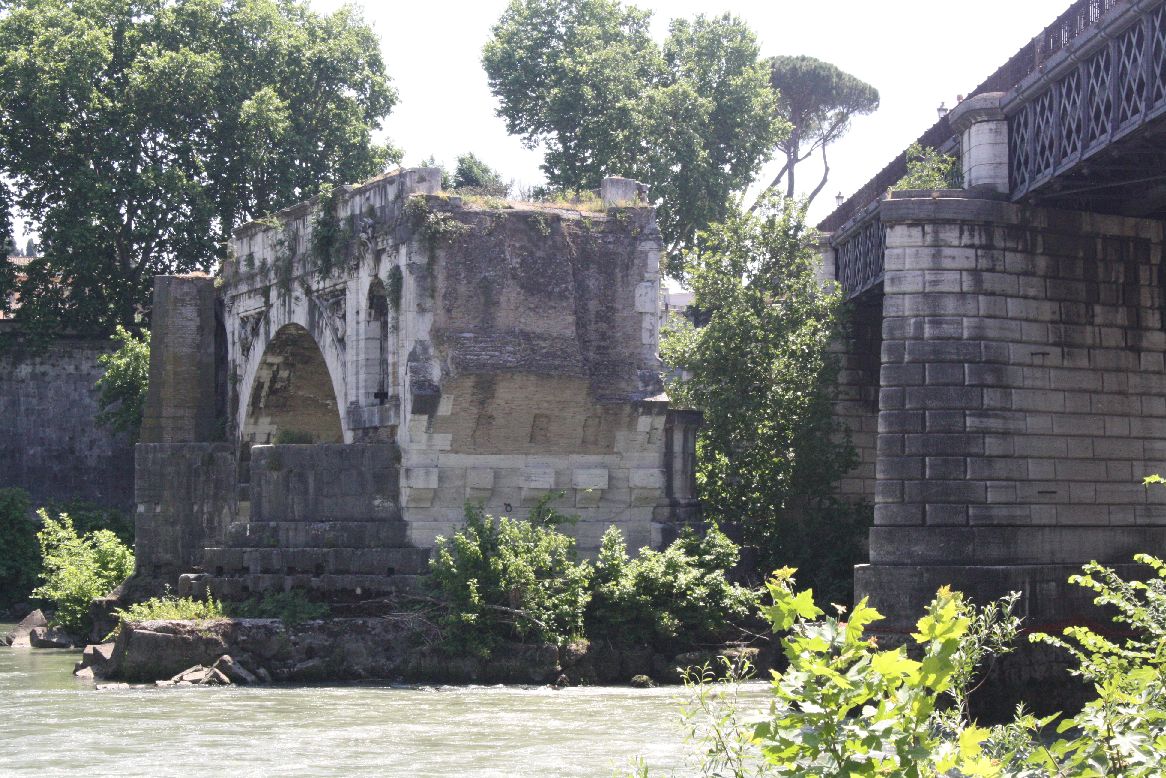
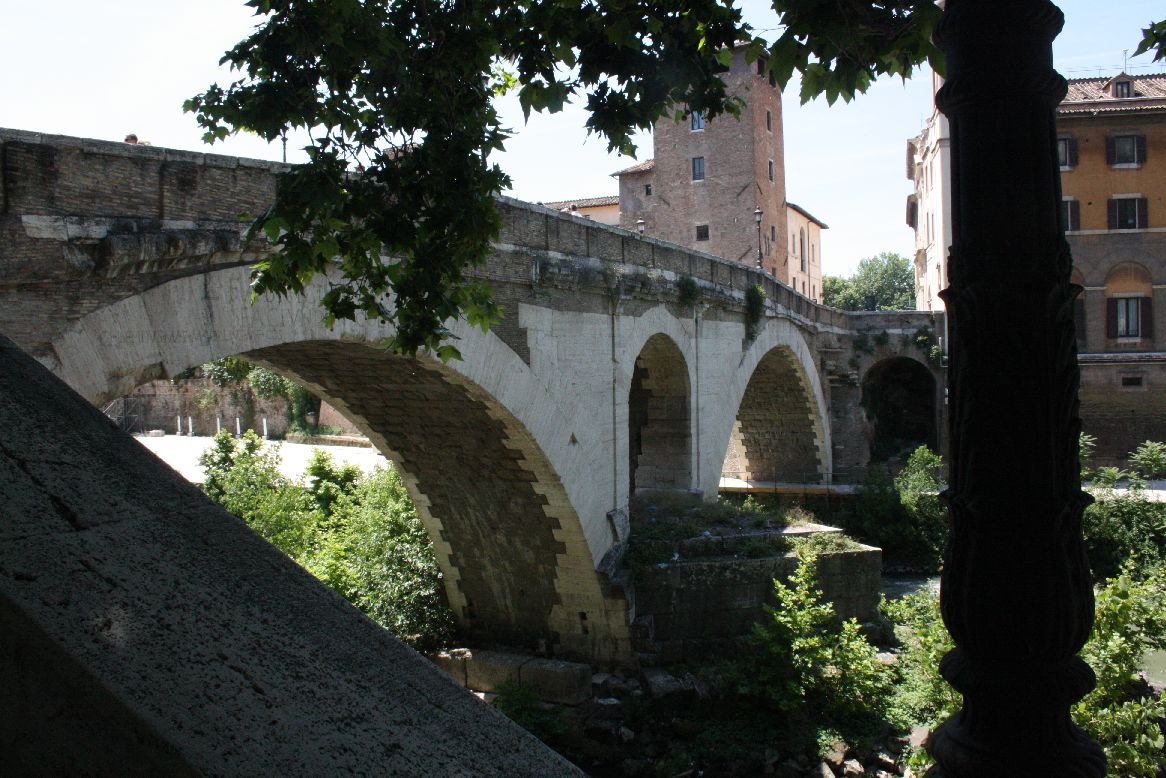
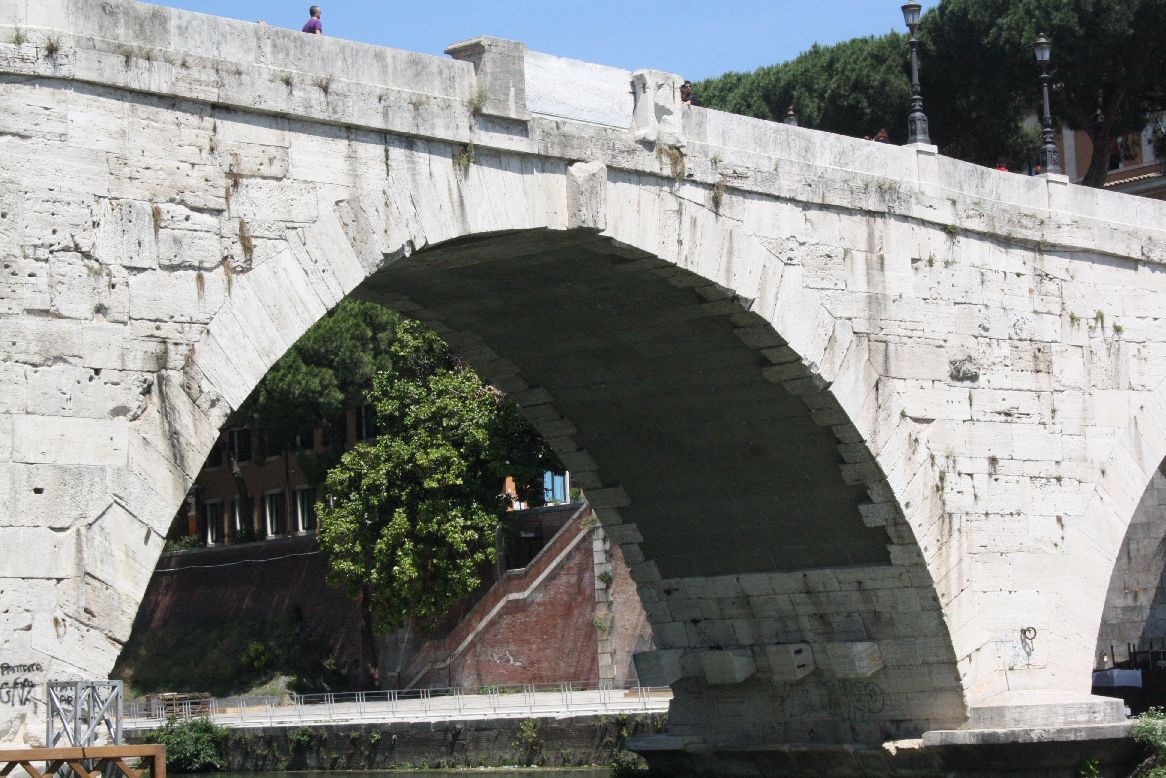
Ponte Cestio (4) and Ponte Fabricio (5); 62 BC
The Ponte Fabricio, built in 62 BC, and the Ponte Cestio, built some time between 62 BC and 27 BC, are the two oldest remaining complete bridges in Rome. They connect Tiber Island to the city to the West (Ponte Cestio) and East (Ponte Fabricio). The Ponte Fabricio consists of two large arch spans supported on a massive central pillar, and connected with a smaller span arch.

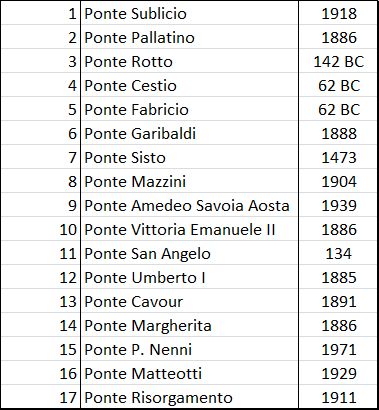
Ponte Fabricio
Each crown of the arch is inscribed with the words: “Lucius Fabricius, Son of Gaius, Superintendent of the road, took care and likewise approved that it be built”
Ponte Fabricio, crown inscription
The Wikipedia article states that the Ponte Cestio was originally built with two small semi-circular arches, and was re-built in the 4th Century; however a photograph from 1880 in the same article (http://en.wikipedia.org/wiki/File:Ponte_Cestio,_Rome,_Italy._Pic_01.jpg) shows a single central large semi-circular arch with small arches at each end. The bridge was completely reconstructed in 1888-1892, with the addition of larger span arches either side of the central span, as it stands today.

Ponte Cestio

Ponte Cestio, central span
Ponte Cestio, crown detail
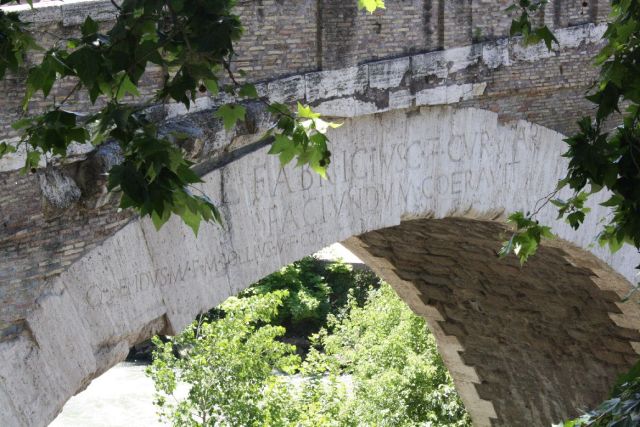
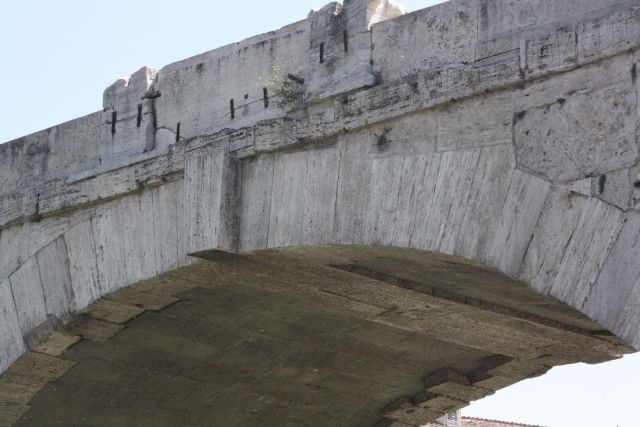
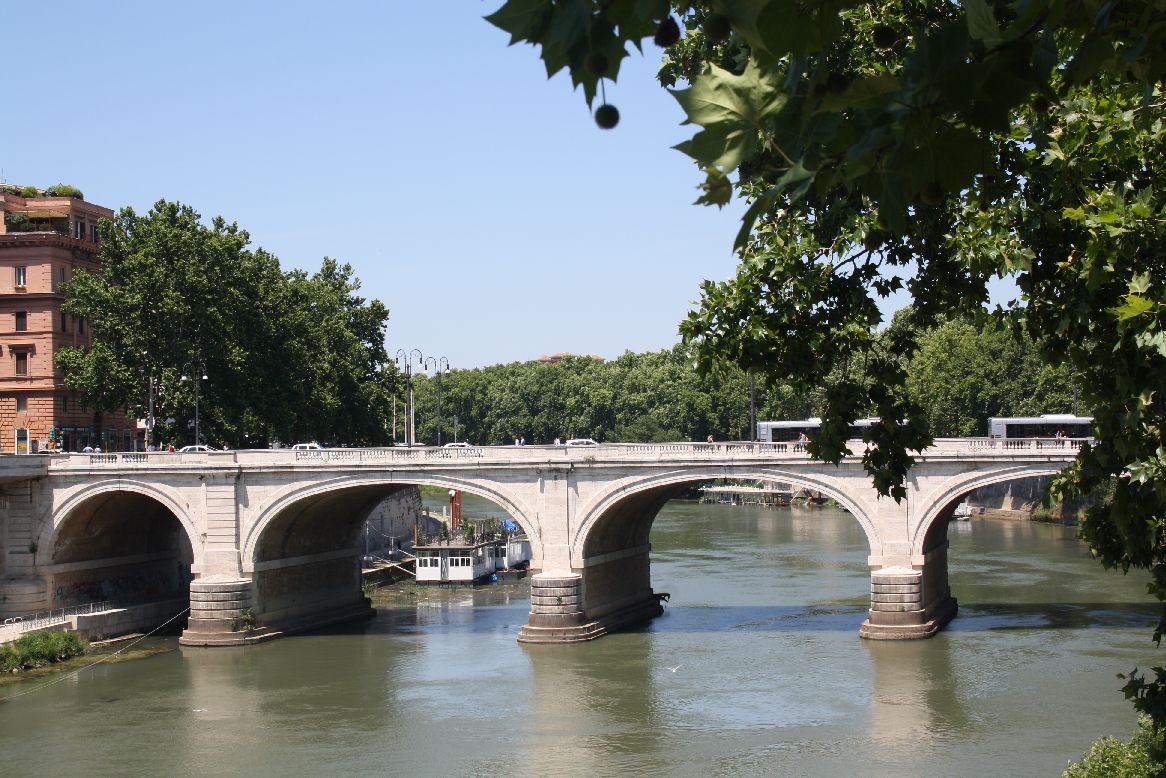
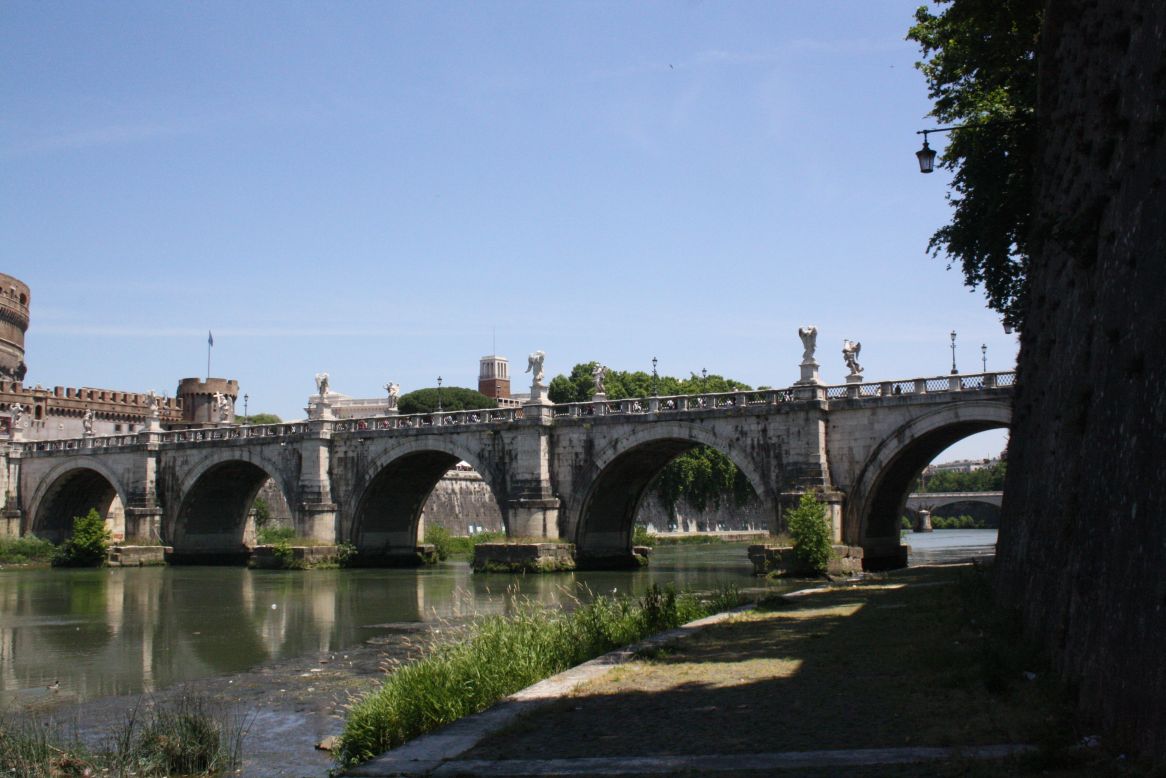
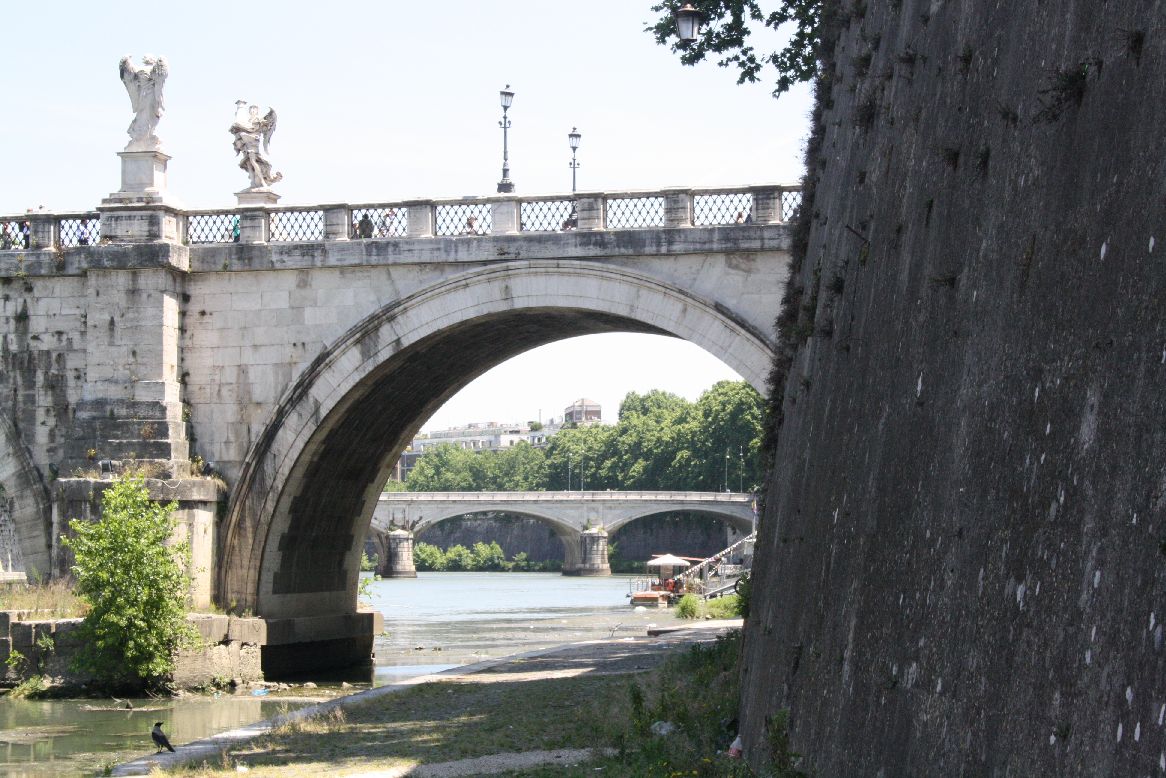
The Ponte San Angelo (11) was completed in 134 AD, with five semi-circular spans.

Ponte San Angelo
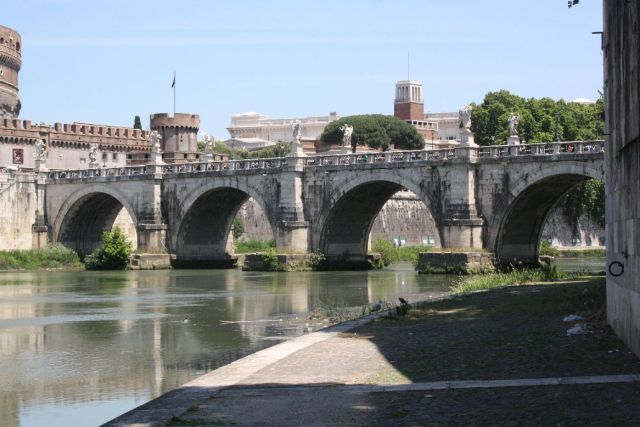
Ponte San Angelo
It is well known for its 10 decorative angels, added in 1669 (http://en.wikipedia.org/wiki/Ponte_Sant’Angelo)

Ponte San Angel and Ponte Umberto 1 (background)
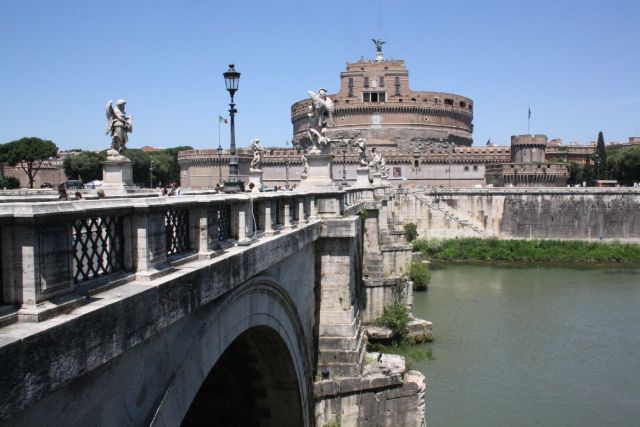
Angels on the Ponte San Angelo, and the Castel Sant’Angelo
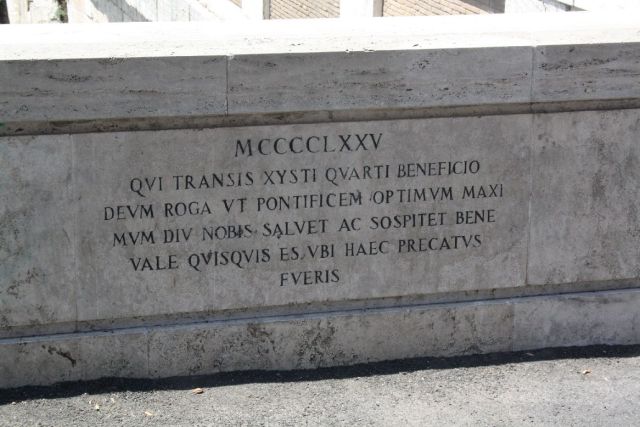
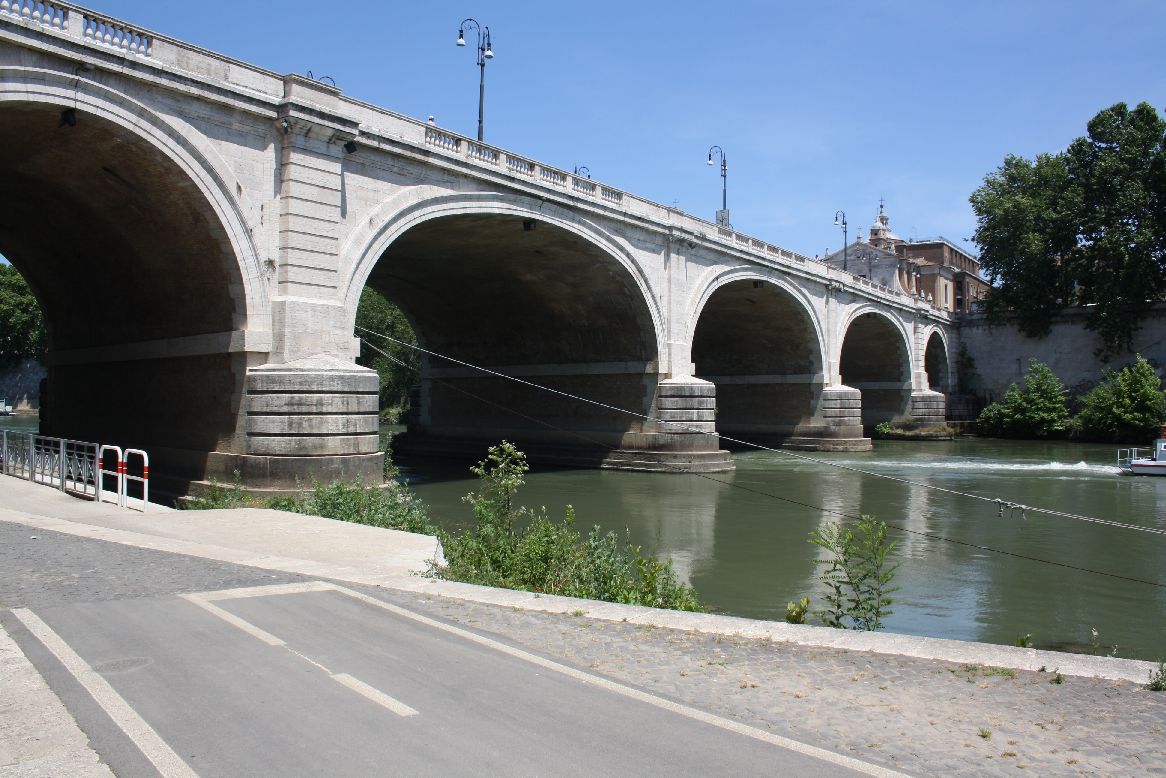
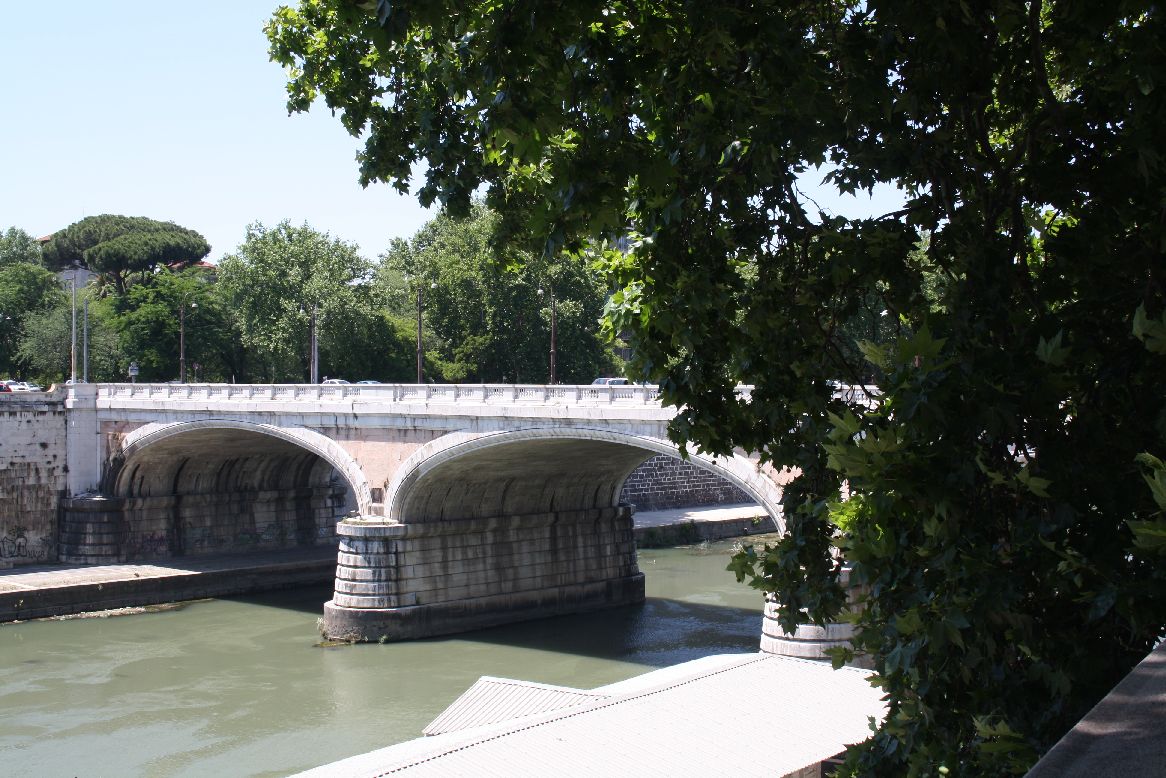
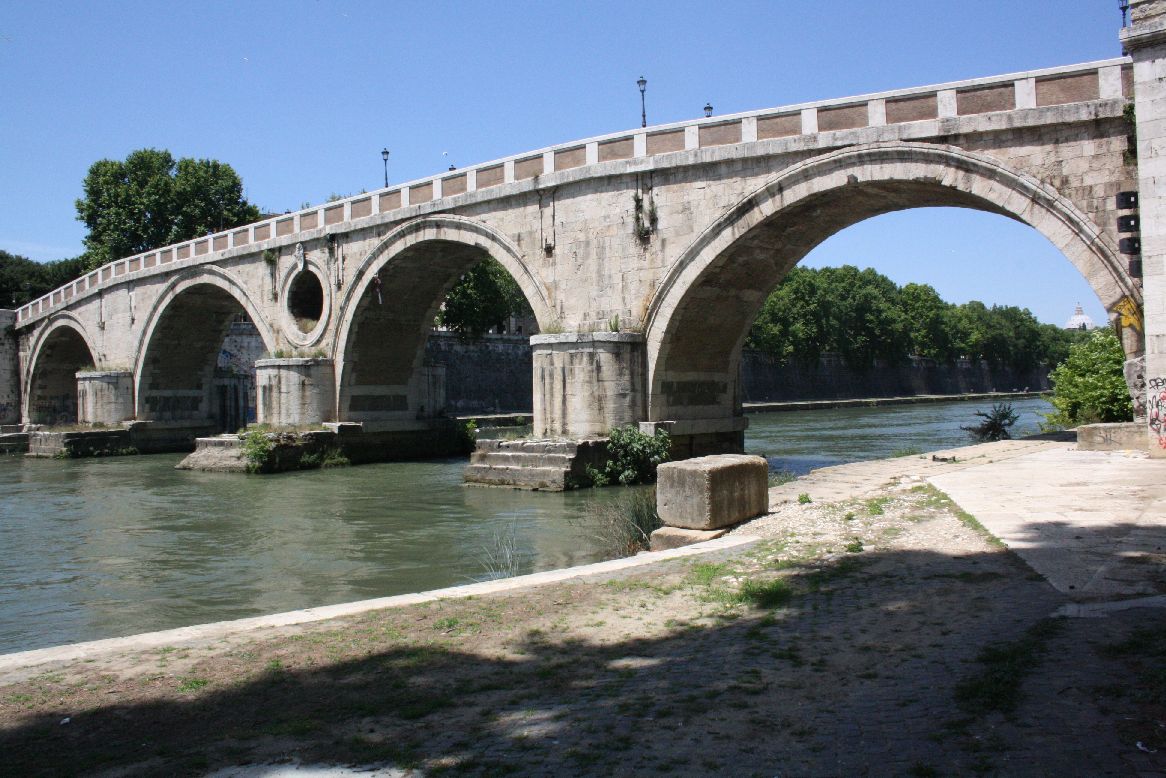
The next oldest bridge after the Ponte San Angelo is the Ponte Sisto (7), originally built in the fourth or fifth century AD, but partially destroyed in 773, and completely re-built in its present form 1473, over 1300 years after the construction of the Ponte San Angelo.

Ponte Sisto
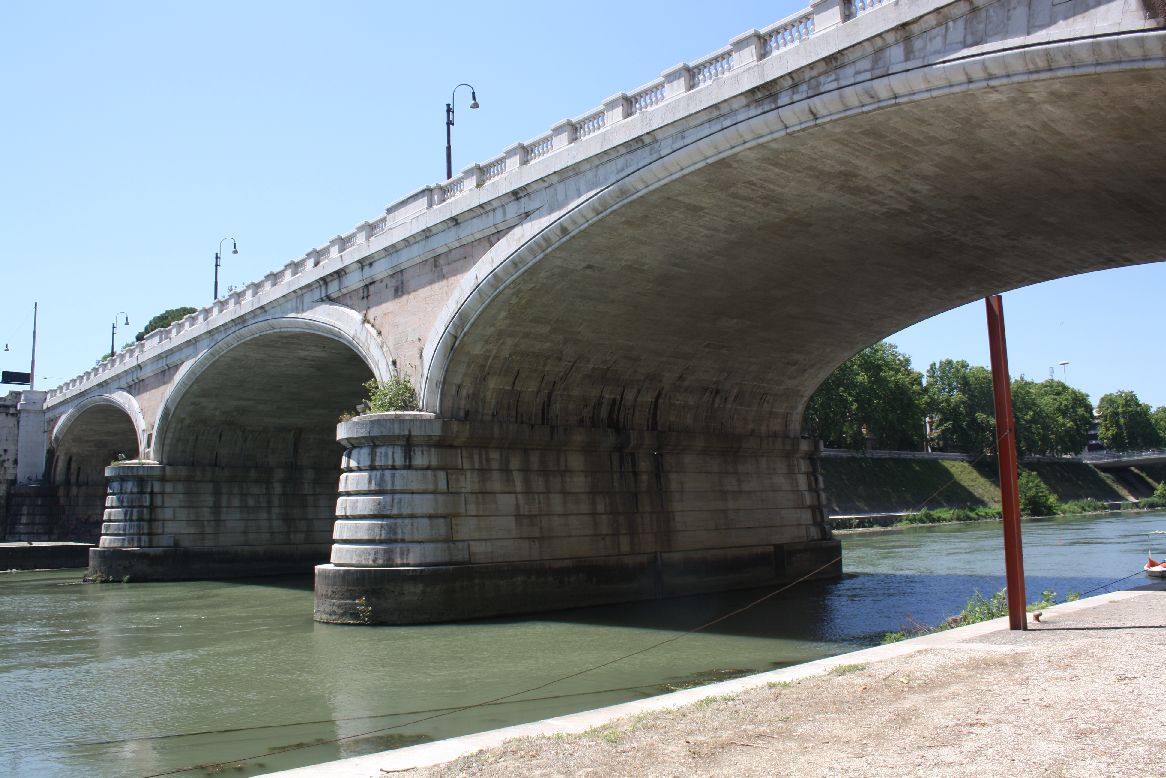
The bridge consists of four semi-circular spans, with a central “oculus” or eye, a feature copied in 19th century bridges over the Tiber.

Ponte Sisto
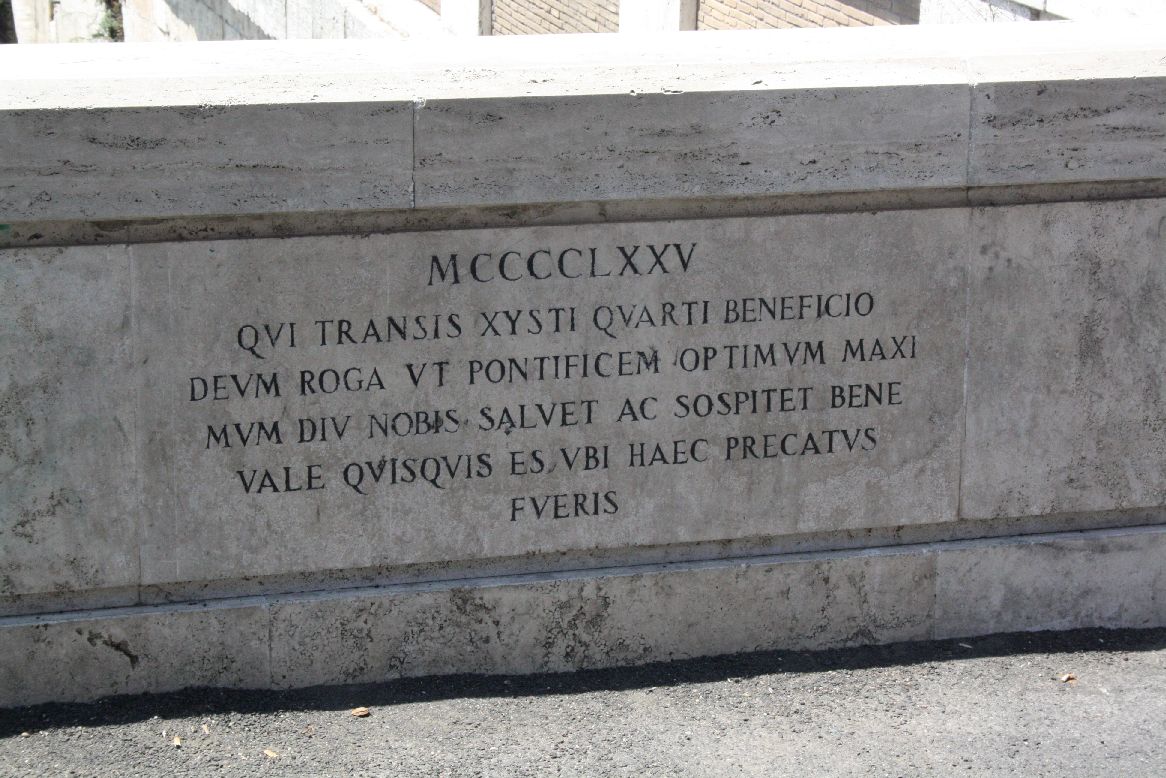
The inscription on the parapet reads:
1475
You who cross by the kindness of Sixtus IV, pray God to long save and protect for us our excellent supreme pontiff. Fare well, whoever you are, when you will have prayed these things
Ponte Sisto
For more details of this bridge, and earlier ones on this site, see: http://sightsofrome.blogspot.com.au/2011/09/12-ponte-sisto-bridge-with-history.html.

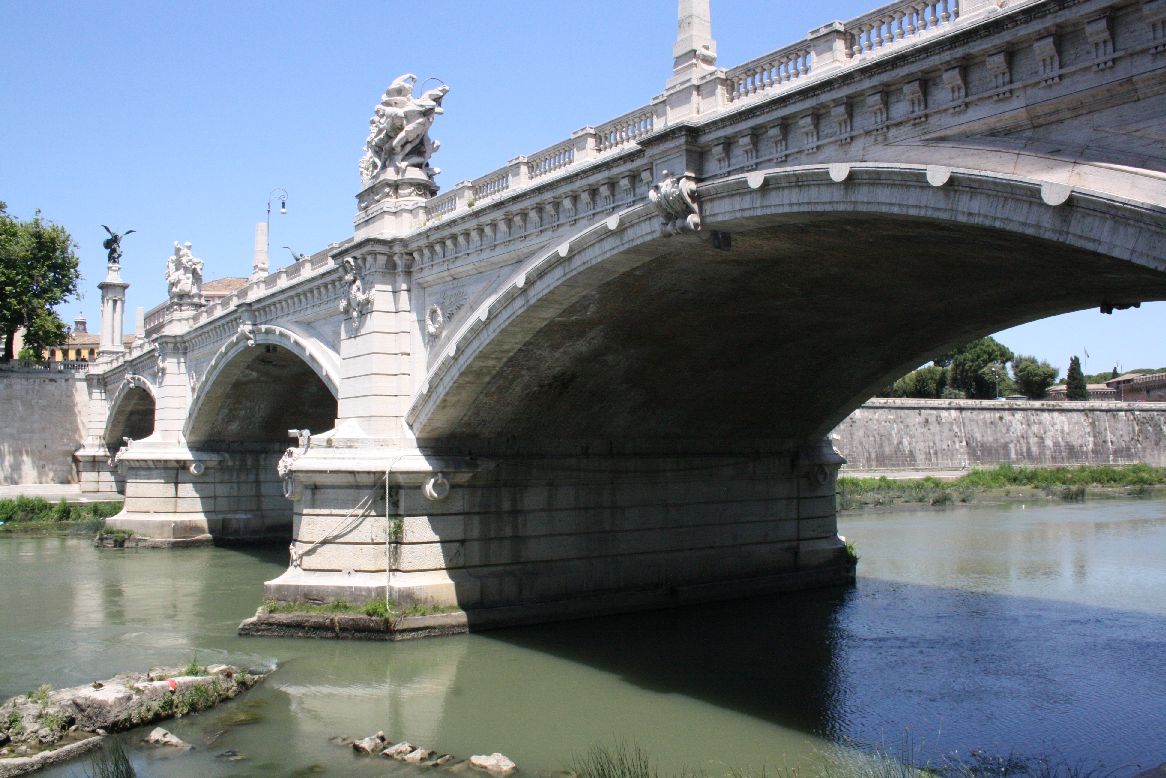
 A three span segmental arch structure, is crowned by massive travertine scuptures over each pier.
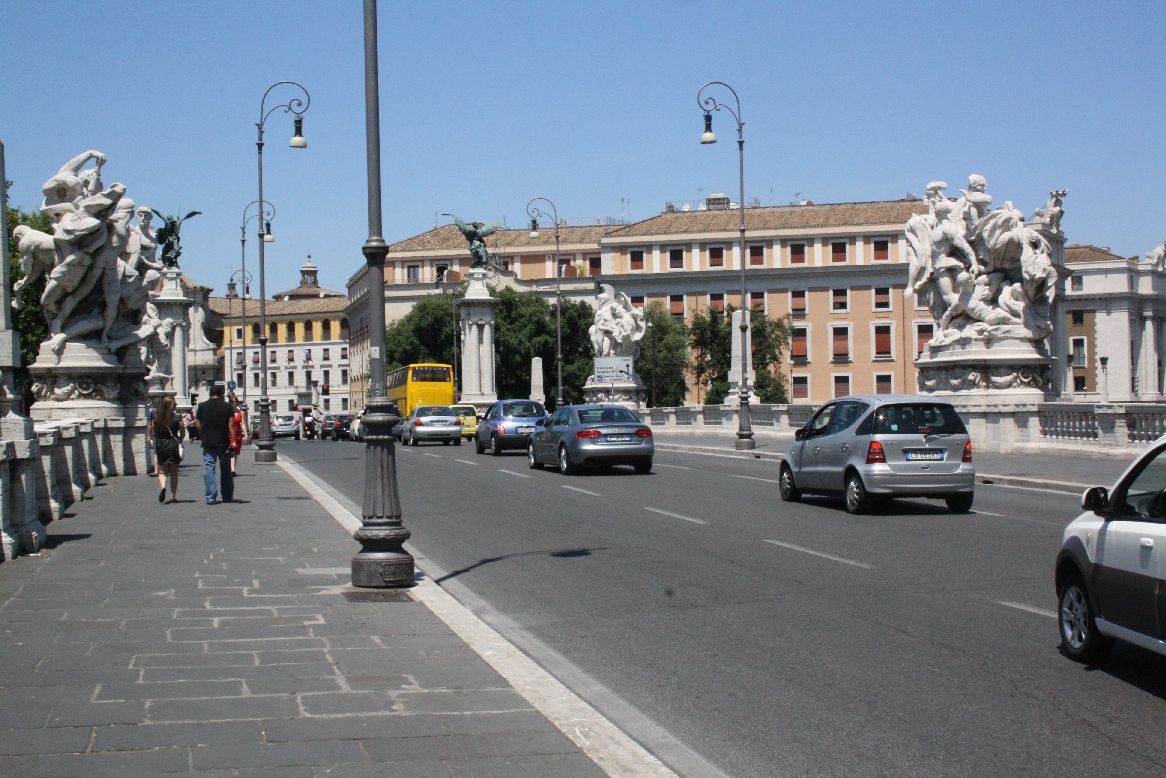


