Stepping through Python code called from Excel

Setting up your editor to allow Python code debugging for functions called from Excel can be tricky, depending on the details of your editor and linking software, but using the Visual Studio Code Editor and Pyxll, this works for me:

  1. Open the Python code in the Visual Studio Code editor.
  2. Make sure the Python code Extension is installed (check under File-Preferences-Extensions).
  3. Open the folder containing the code file.  Either use File-Open Folder …, or click on the Explorer icon (top icon on the left hand icon bar).
  4. Go to the Excel File that will be calling the Python functions, and link to the editor from the Add-ins – Pyxll – Attach to VS Code menu:
  5. Return to Visual Studio Code and click the Run icon in the left hand tool bar …
  6. … then click the green arrow between Run and Python Attach.  The blue bar at the bottom of the screen should turn orange:
  7. Finally click in the left hand margin on a line where you like to insert a break point …
  8. … and return to Excel and call the routine to be de-bugged.

The code will stop at the selected break point.  You can then step through the code using the Run menu, use the function key short-cuts, or right click for debug options.

Posted in Computing - general, Excel, Link to Python, PyXLL, UDFs | Tagged , , , , | 4 Comments

More Python Traps

I recently posted on some Python Traps, focussing on code where changes in the values of sub-routine arguments were not reflected in the calling routines.  The reverse can also be a problem: if an array, a, is passed to a sub-routine in VBA, then a new array, b, with the same values created in the sub-routine using b = a, any changes to b will not be reflected in a.

In Python things work differently; the statement b = a means that the array a is now also called b, so changes to b will also change a, both in the sub-routine and in the calling routine.  This was discussed in some detail in The meaning of = in Python; this post looks at some practical examples, and how to create a new copy of an array, rather than just giving the existing array a new name.

The screenshots below illustrate further variations of the routines discussed in the Python Traps post:

  • An array, x, is read from the spreadsheet and passed to a subroutine, either as a list, a list of lists, or a 1D or 2D Numpy array.
  • In the subroutine an array, y, is created, either with the statement y = x, or with the Python copy or deepcopy commands.
  • y is multiplied by a constant.
  • y is retuned to the calling routine, as the function return value.
  • y and x are returned to the spreadsheet.

In the first three examples below the array x is passed as a Python list or a 1D Numpy array.  When the array y is created with y = x, the changes to y are also seen in x, but when x is created with  y = np.copy(x), x is not affected by the changes to y.  The Python copy function (y = copy.copy(x)) works the same way for a 1D list.

With a 2D list (list of lists) however the y array created with the Python copy function behaves the same as using y = x; the changes in y are also seen in x.  This is because copy only creates a new object for the top level list.  The lower level lists still refer to the same objects as in the x list.  To create a new list of lists at all levels it is necessary to use the Python deepcopy function: y = copy-deepcopy(x).

The numpy copy command however works the same on all levels of Numpy arrays. In the final example below the 2D array x is not affected  by the changes to y, which was created with y = np.copy(x).

Posted in Arrays, Excel, Link to Python, Newton, NumPy and SciPy, PyXLL, UDFs | Tagged , , , , , | Leave a comment

LinEstGap with non-linear functions

The LinEstGap user defined function (UDF) allows the built-in Linest function to be used on data with empty cells or hidden rows, returning results that agree with the chart trend-line function, which automatically ignores blank cells and hidden data.  It also optionally allows any lines with Error values to be ignored, rather than returning an error.

Following a comment here I have modified the code and added additional functions to work with all the non-linear curve  types provided by the chart trend line (Exponential, Logarithmic, Polynomial, and Power).

The revised spreadsheet includes examples and full open-source code, and can be downloaded from:

Linest-PolyDA.zip

The download zip file contains two versions of the spreadsheet.  Linest-PolyDA uses the new dynamic array feature.  Linest-PolyA has fixed size array functions that will work with older versions of Excel (see Using Array Formulas for more details).

I have extracted the code for extracting blanks and errors into a separate function (RemoveGaps), so the LinEstGap function is now reduced to:

Function LinEstGap(Ycells As Range, XA As Variant, Optional Const0 As Boolean = True, Optional Stats As Boolean = False, _
    Optional IgnoreErrors = False)
    Dim iErr As Variant
    Dim YA2() As Double, XA2() As Double

    iErr = RemoveGaps(Ycells, XA, XA2, YA2, Const0, Stats, IgnoreErrors)

    If iErr = 0 Then
        LinEstGap = WorksheetFunction.LinEst(YA2, XA2, Const0, Stats)
    Else
        LinEstGap = iErr
    End If
End Function

I have also added separate functions that call the RemoveGaps function, then Linest with modified X and Y data to return parameters for non-linear curves (see Using LINEST for non-linear curve fitting for more information on using Linest, and the download file for the VBA code).  Examples of the new functions are shown below (click on any image for a full size view):

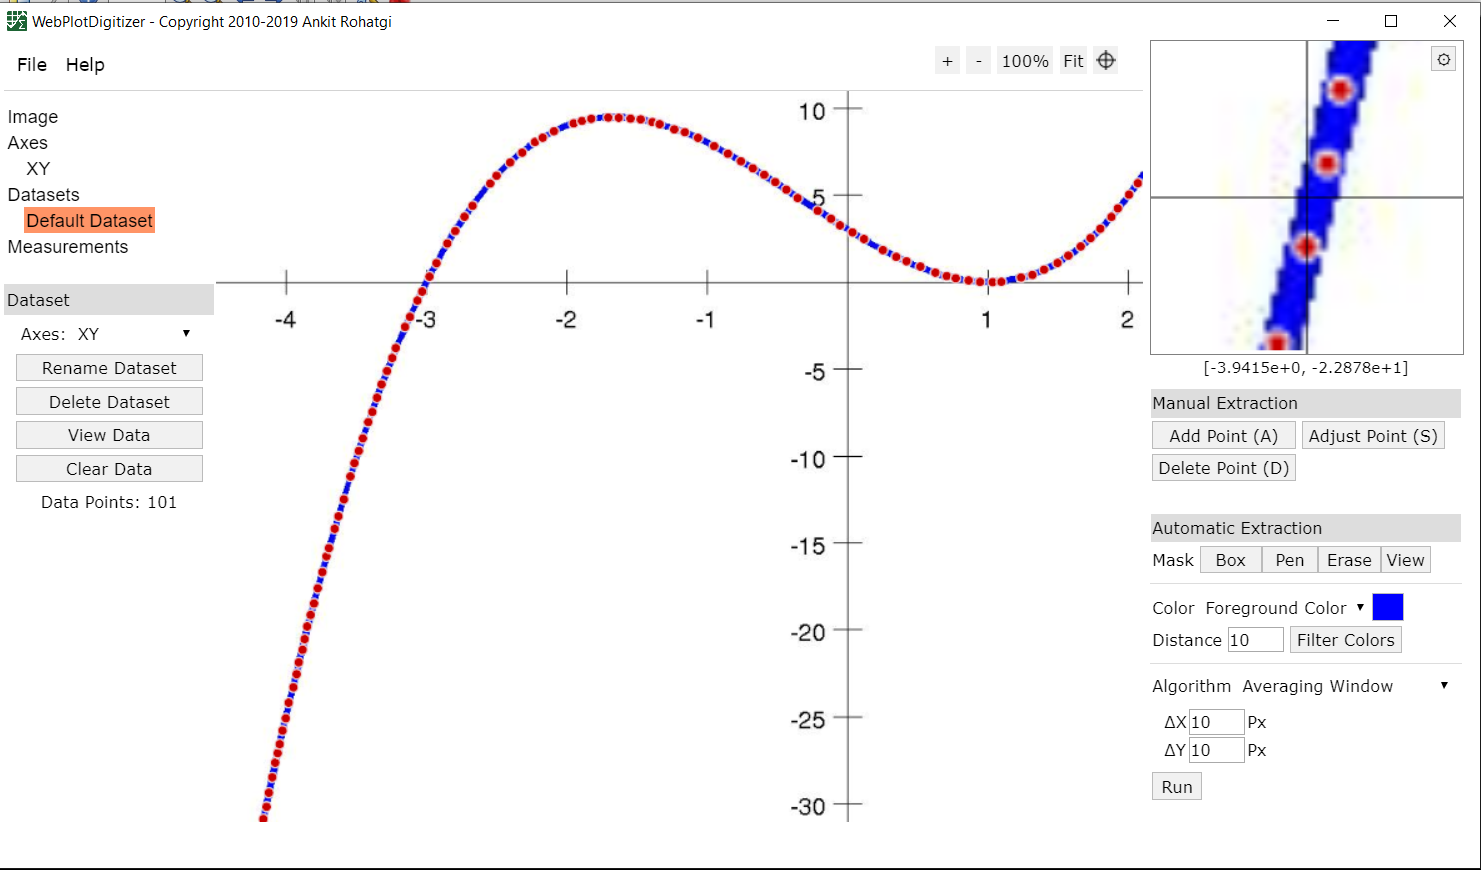
The PolyEstGap function will return parameters for any order of polynomial function (but see Fitting high order polynomials for warnings on using orders greater than 3 or 4).

The functions ExpEstGap, PowerEstGap, and LogEstGap all return a two element array with values a and b for the functions:

  • ExpEstGap:   y = b. e^a
  • PowerEstGap; y = b.x^a
  • LogEstGap:     y = a.ln(x) + b

The screen shots below show the PolyEstGap function used on data with gaps and errors and filtered data, but the other Gap functions all work the same way.

Using the built in LinEst on data with gaps returns an error, but the Gap functions return the same results as the chart trend line; i.e. any line with a gap in the data is ignored:

Filtered data is also ignored:

The chart trend line treats error values as zero, so returns invalid results.  The Gap functions return an error by default (line 19 below), but if the final optional argument ( IgnoreErrors) is set to True they will return the correct results for the data without the error lines.  Note that the results with errors in rows 12 and 13 below are exactly the same as those with rows 12 and 13 hidden above.

The Gap functions may also be used on data arranged in rows as shown below:

For the polynomial examples above the LinEstGap function may also be used with modified input, or with multiple columns of x data, to generate the same results. For the other non-linear curve types however modifying the LinEstGap input data will generate an error, but the new Gap functions return the correct results.

Posted in Arrays, Curve fitting, Excel, Maths, Newton, UDFs, VBA | Tagged , , , , , , , , , | 4 Comments

DigitGraph Spreadsheet and WebPlot Digitiser

I have posted here previously a spreadsheet that allows XY data to be extracted from images of graphs, maps or other images of objects in a single plane: How to digitise a scanned image.

I have updated the instructions for the procedure to cover Excel’s new dynamic array feature, which can return an array of data from a function entered in a single cell.  The new version can be downloaded from:

DigitGraph2.zip

I also recently discovered the Webplot Digitizer program, that can either be used on-line, or as a download.  The download is free (with no advertising), with a button for voluntary donations.  The screen-shot below shows the downloaded version.  The program is considerably more sophisticated than my spreadsheet, providing not only a magnified image of the graph at the cursor location, but also allowing the option of either manual selection of data points, or a fully automated process to detect the graph line(s) and generate the data points.

Output from the WebPlot program (both manual and automated) is shown below plotted together with output from my Digitgraph function, showing close agreement for all three lines.

Posted in Charts, Charts, Computing - general, Curve fitting, Drawing, Excel, UDFs, VBA | Tagged , , , , , | 5 Comments

Katherine Johnson, NASA Legend

Cartoon by Steve Breen from The San-Diego Union Tribune.

More on Katherine Johnson.

Posted in Maths, Newton | Tagged , , | Leave a comment